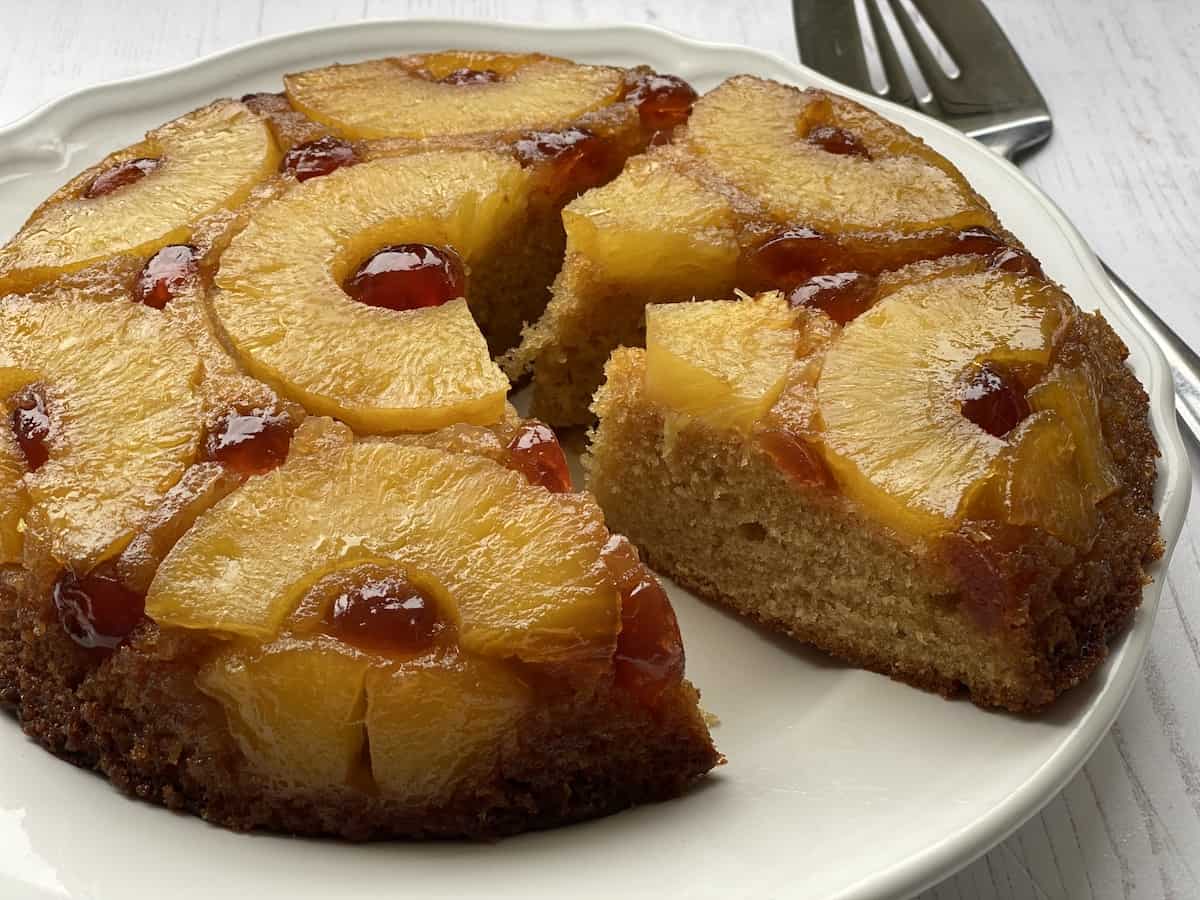
This Easy Pineapple Upside Down Cake recipe is a traditional baking classic. Topped with pineapple slices, glace cherries, and a honey and toffee flavoured syrup.
Although very popular in the 1960's and 70's as a summer pudding, these days as an old fashioned Pineapple Upside down cake it is made almost all year round. Serve it with custard, freshly whipped cream, yogurt or just on its own while still warm.
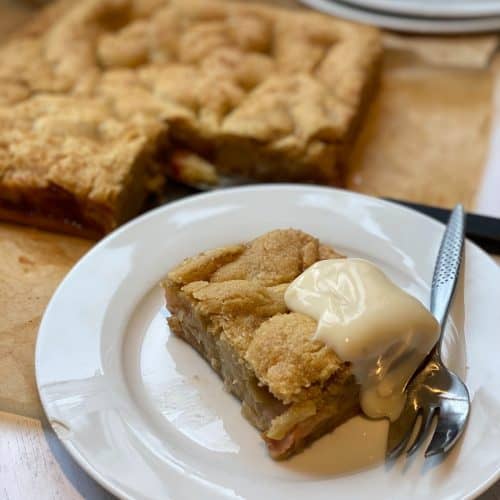
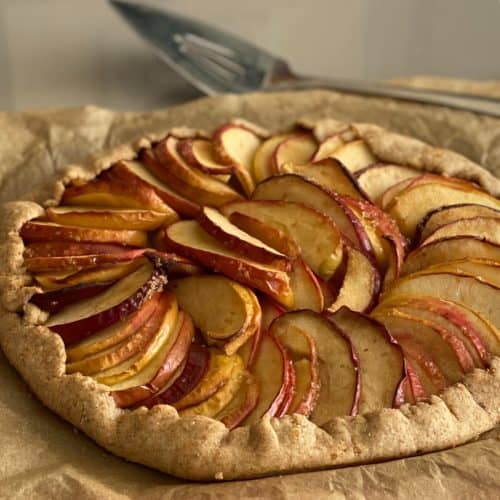
I was inspired by my Apple Sponge Pudding recipe to make more desserts. You could use any left over Pineapple Rings in this Rhubarb and Apple Cobbler or this Apple Shortcake.
Jump to:
Why You Will Like This Recipe.
- An easy recipe to be enjoyed after any main meal.
- Baked in an ovenproof dish that is easy to turn out onto any large serving plate.
- Makes use of tinned pineapple rings.
Ingredient Notes and Substitutions.
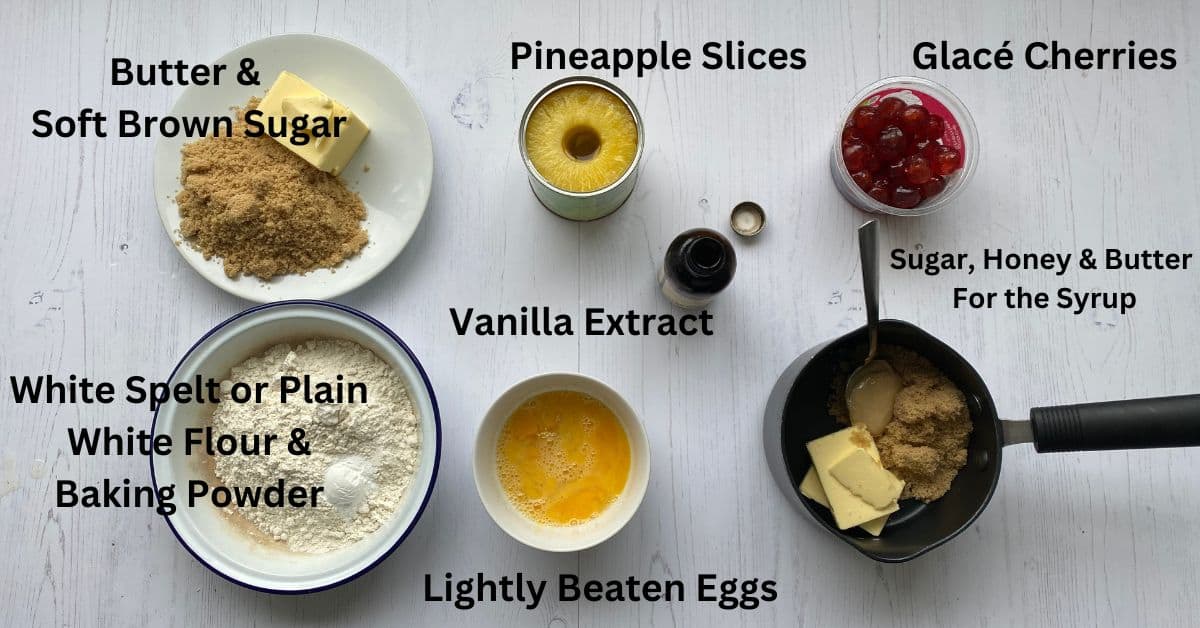
- Butter - Unsalted and softened when making the cake sponge.
- Soft Light Brown Sugar - For a light toffee flavour. Tastier than white caster sugar.
- Honey - Use runny or set honey. Either is fine.
- Pineapple Rings - Canned or fresh. Pat dry to remove any excess pineapple juice. Some of the juice will be used to make the sponge cake mixture.
- Glace Cherries - For a more festive decoration use a mix of green and red Glace Cherries.
- Vanilla extract - I use this as it has a much better flavour than Vanilla Essence.
- Eggs - Medium sized
- White Spelt Flour - I love baking with this ancient grain. This Guide to Different Types of Flour will give you an overview of some of the different flours I use on this site.
- Baking Powder - Spelt Flour does not contain any raising agent which is why it's needed for this recipe.
Note: This is just an overview of the ingredients I used and why I may have used them. See the recipe card below for a full list of ingredients and quantities.
Step by Step Instructions
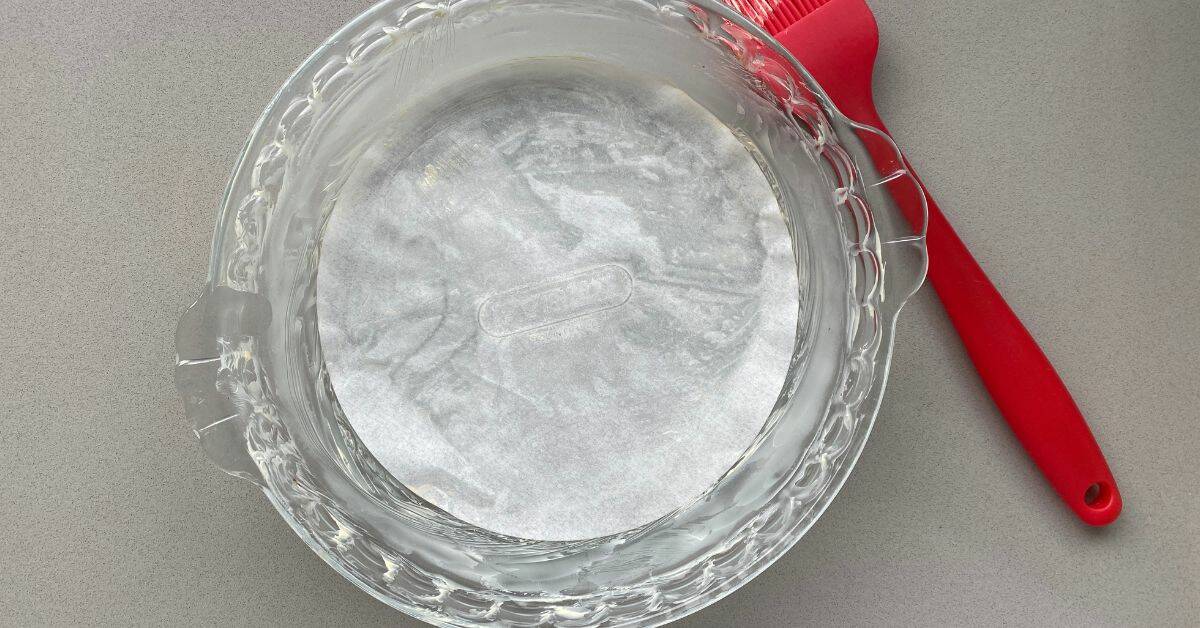
Step 1: Grease the base and sides of a 20cm/8ins round cake tin or ovenproof dish. Note: DO NOT use a loose-bottomed cake tin or you will lose all the lovely Toffee Syrup during baking. If you wish, line the base of the dish with a circular disc of baking parchment. This will make it easier to turn out once baked.
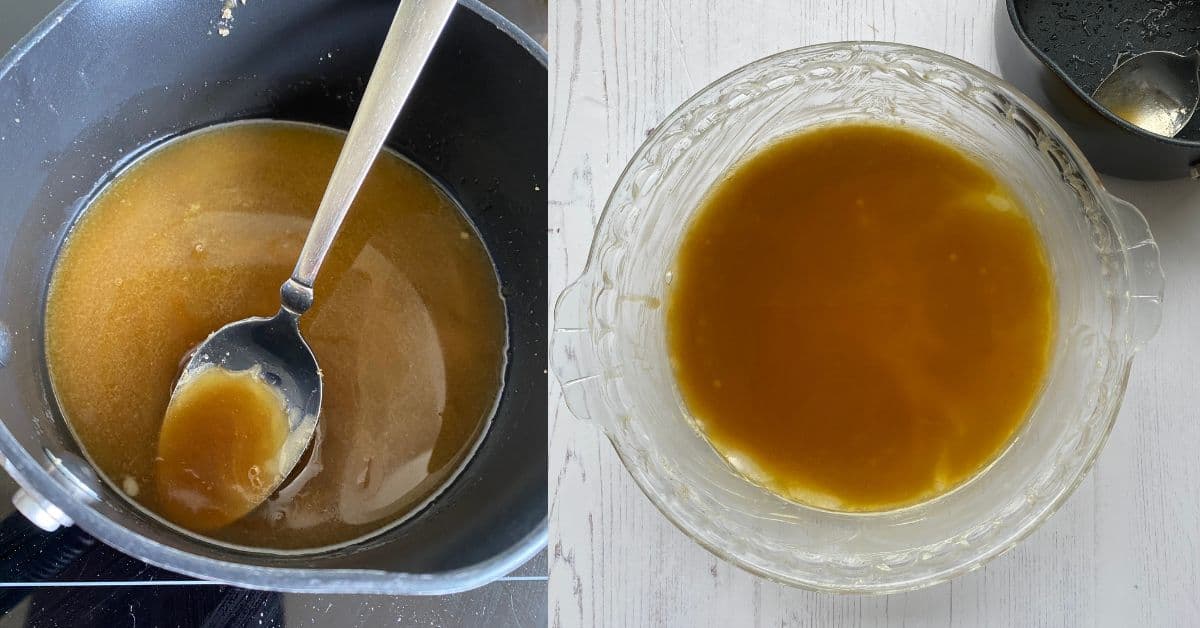
Step 2: Make the Toffee sauce first. Gently melt the butter, sugar and honey in a saucepan over medium heat. Stir continuously until all the butter and sugar have dissolved. Take off the heat and pour the syrup into the ovenproof dish ensuring the base is evenly coated.
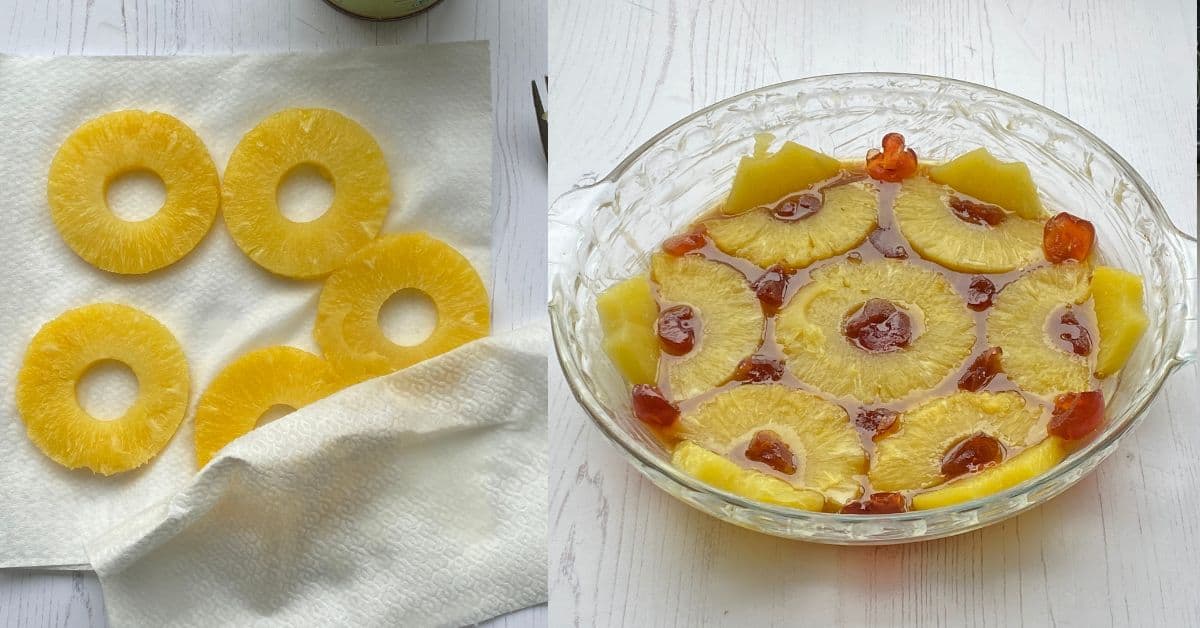
Step 3: Pat the Pineapple Rings dry between a couple of sheets of kitchen paper or a clean tea towel. Place one Pineapple ring in the centre of the syrup mixture, then arrange slices of pineapple around it. Place glace cherries inside and around the pineapple slices and along the sides of the dish if you wish. Preheat the oven to 170C fan.
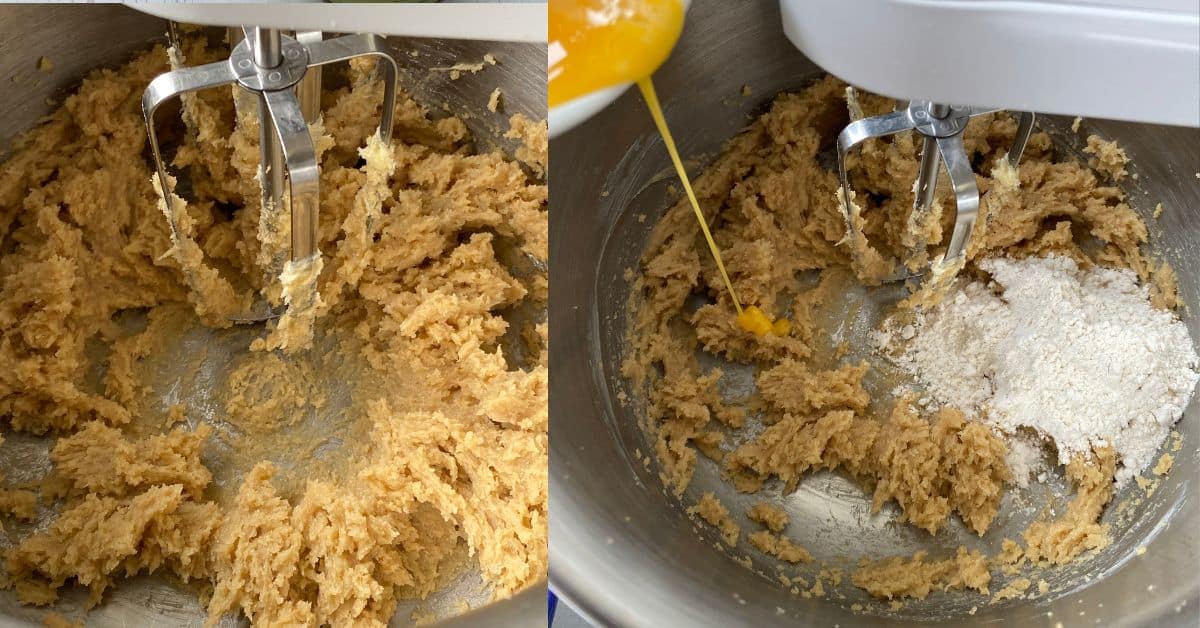
Step 4: Make the Sponge Cake batter. Using an electric mixer, beat the butter and sugar together until light and creamy. Add the vanilla extract, then gradually add the lightly beaten eggs, adding a little flour to help prevent curdling. Mix until well combined.
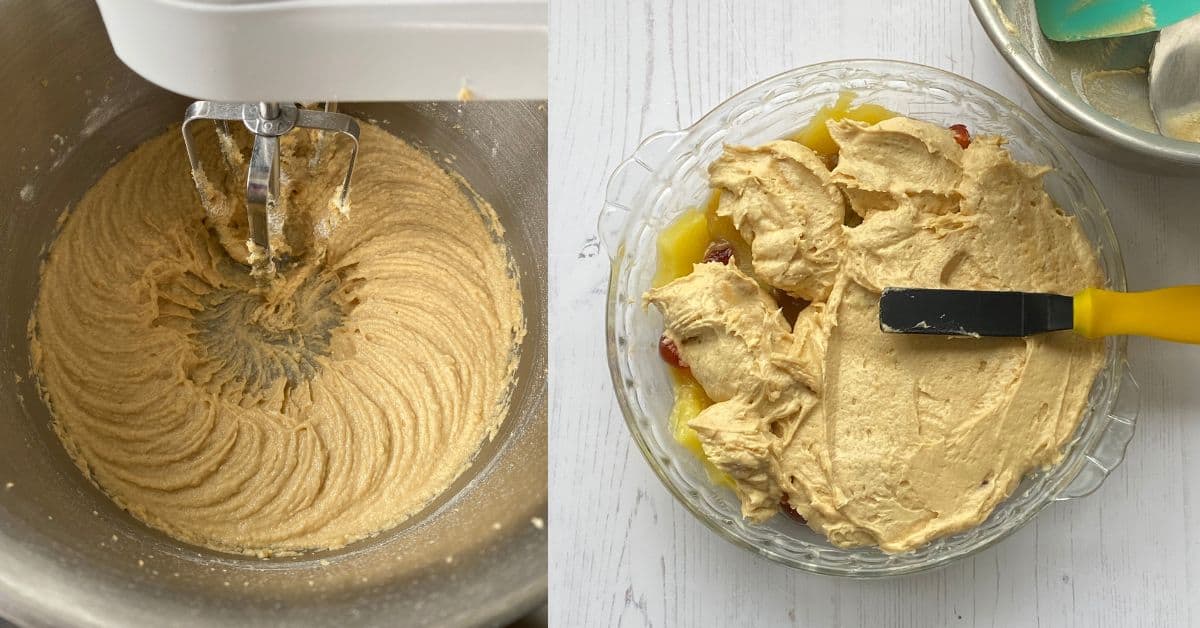
Step 5: Add the remaining flour, baking powder and pineapple juice, and mix until well combined. Spoon the sponge cake batter evenly over the Pineapple Slices and Glace cherries
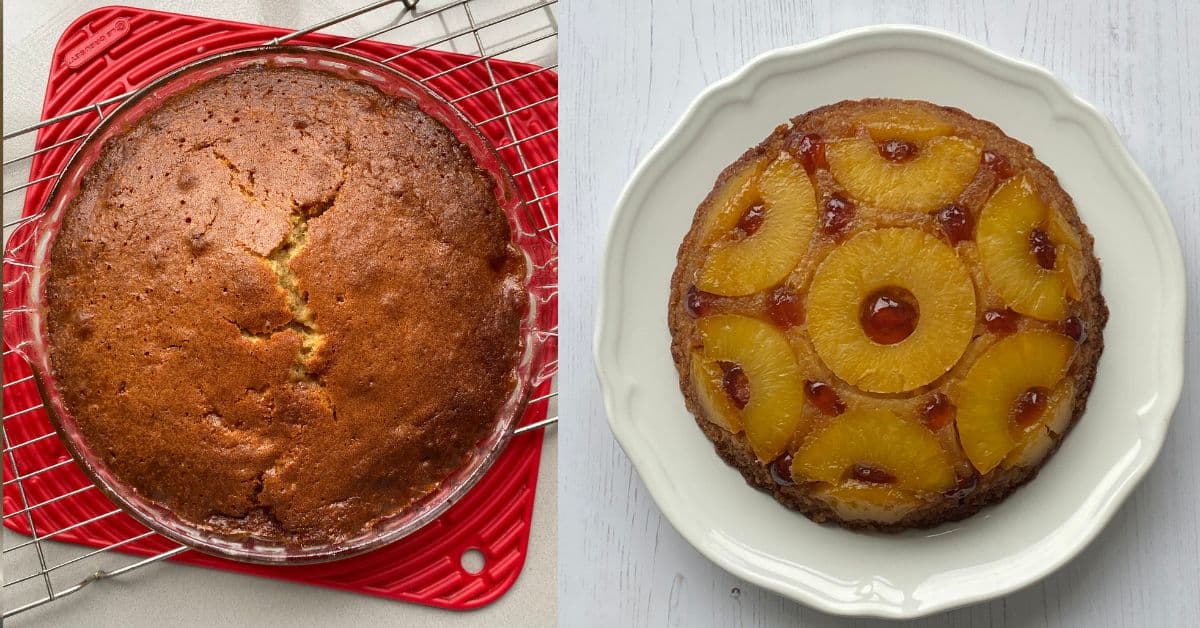
Step 6: Bake for 40 - 45 mins or until baked, in the centre of the oven. Testing the centre of the cake sponge until it comes out clean. Note: The centre of the cake is particularly prone to underbaking. Remove the Upside Down Cake from the oven and leave it to cool a little before turning it out onto a serving plate.
How To Turn Out a Pineapple Upside Down Cake
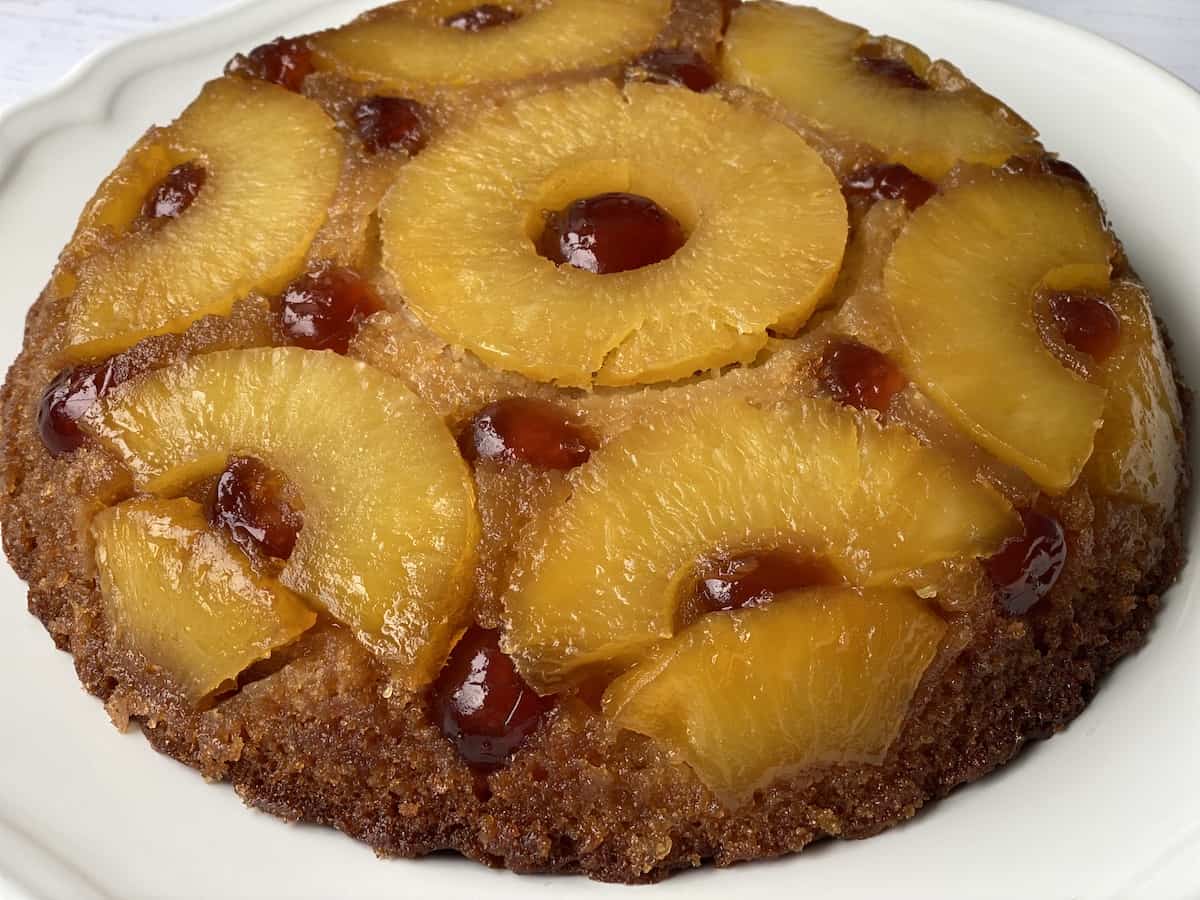
Invert the cake dish/cake tin onto a large plate to catch any hot Toffee Syrup or lingering juices that may still be around. Carefully remove the dish, removing the sheet of baking parchment. If you wish, serve with a drizzle of runny honey while the cake is still warm.
Baker’s Tips.
- Check that you have all the ingredients ready.
- Drain excess pineapple juice from the pineapple rings by patting them with kitchen or paper towels. This will help prevent a soggy sponge.
- Lining the base of the tin or ovenproof dish with baking parchment will make the Upside down cake turn out of the tin a lot easier.
- Remember to use the baking powder when using White Spelt or plain flour. But omit if using Self Raising Flour.
Storage
Room Temperature: When completely cold, store in an airtight container.
Fridge: Store in the fridge if you want to keep the dessert for longer than a couple of days. Bring back to room temperature before serving.
Freezer: Although I have never tried freezing a Pineapple Upsidedown cake, I don't think it's Freezer friendly, in my opinion, because of the fruit topping.

Frequently Asked Questions
To prevent a soggy Pineapple Upsidedown cake, make sure you remove any excess liquid from the Pineapple Rings, by patting them between kitchen paper or a clean tea towel.
Line the bottom of the ovenproof dish or pie tin, with baking parchment. This makes it easier to turn over onto a serving plate.
More Dessert Recipes You May Like To Try
After making this recipe please let me know how you got on by leaving a comment below. Especially if you used alternative ingredients.
Recipe
Easy Pineapple Upside Down Cake
Equipment
- 8" round Ovenproof dish or cake tin. NOT loose bottom.
Ingredients
For the Topping
- 60 g unsalted butter
- 60 g light brown sugar
- 1 tablespoons honey Runny or set Honey.
- 4 - 5 canned pineapple rings patted dry to remove any excess pineapple juice.
- 6 - 8 Glace cherries
For the Sponge Cake
- 125 g unsalted butter softened
- 125 g Soft Light Brown sugar or white Caster sugar
- 1 teaspoon vanilla extract
- 2 eggs medium sized lightly beaten
- 125 g white spelt flour or white plain flour Note: if using self raising flour omit the baking powder
- 1 teaspoon baking powder Omit if using Self Raising Flour.
- 1 tbs pineapple juice syrup from the canned pineapples
Instructions
- Pre heat the oven to 170C fan. Grease the base and sides of a 20cm/8ins round cake tin or ovenproof dish. DO NOT use a loose-bottomed cake tin or you will lose all the lovely Toffee Syrup during baking. If you wish, line the base of the dish with a circular disc of baking parchment. This will make it easier to turn out once baked.
Make the Toffee Topping first.
- Gently melt the butter, sugar and honey in a saucepan over medium heat. Stir continuously until all the butter and sugar have dissolved. Take off the heat and pour the syrup into the cake dish ensuring the base is evenly coated.60 g unsalted butter, 60 g light brown sugar, 1 tablespoons honey
- Place one Pineapple ring in the centre of the mixture, then arrange slices of pineapple around it. Place glace cherries inside and around the pineapple slices and along the sides of the dish if you wish.4 - 5 canned pineapple rings, 6 - 8 Glace cherries
Make the Sponge Cake Batter
- Using an electric mixer, beat the butter and sugar together until light and creamy. Add the vanilla extract, then gradually add the lightly beaten eggs, adding a little flour to help prevent curdling. Mix until well combined.125 g unsalted butter softened, 125 g Soft Light Brown sugar or white Caster sugar, 1 teaspoon vanilla extract, 2 eggs medium sized
- Mix in the remaining flour, baking Powder and the pineapple juice until well combined.125 g white spelt flour, 1 teaspoon baking powder, 1 tbs pineapple juice syrup from the canned pineapples
- Spoon the sponge cake mixture evenly over the Pineapple Slices and Glace cherries
- Bake in the centre of the oven for 40 - 45 mins, or until baked. Testing the centre of the cake until it comes out clean.
- Remove the Upside Down Cake from the oven and leave to cool a little before turning out onto a serving plate.
To Serve
- Invert the cake dish/cake tin onto a large plate to catch any hot Toffee Syrup. Carefully remove the dish, removing the sheet of baking parchment.
Your Private Notes
Notes
Nutrition
Note: Recipes are tested using Metric only. The provided nutrition information is an estimate for the entire recipe, the calorie accuracy nutritional facts, unit and portion conversion are calculated by a third party app. and are not guaranteed.


Jacqueline
Wow, just made this. And it is delicious. Followed the recipe exactly and my cake has turned out looking like the pictures. I was concerned as it does darken very quickly, probably around the 16 min mark, but I closed my eyes and left it to bake on for 45mins. Just had a small piece for quality control and will enjoy the rest later.
Another great recipe from you. Thank you!