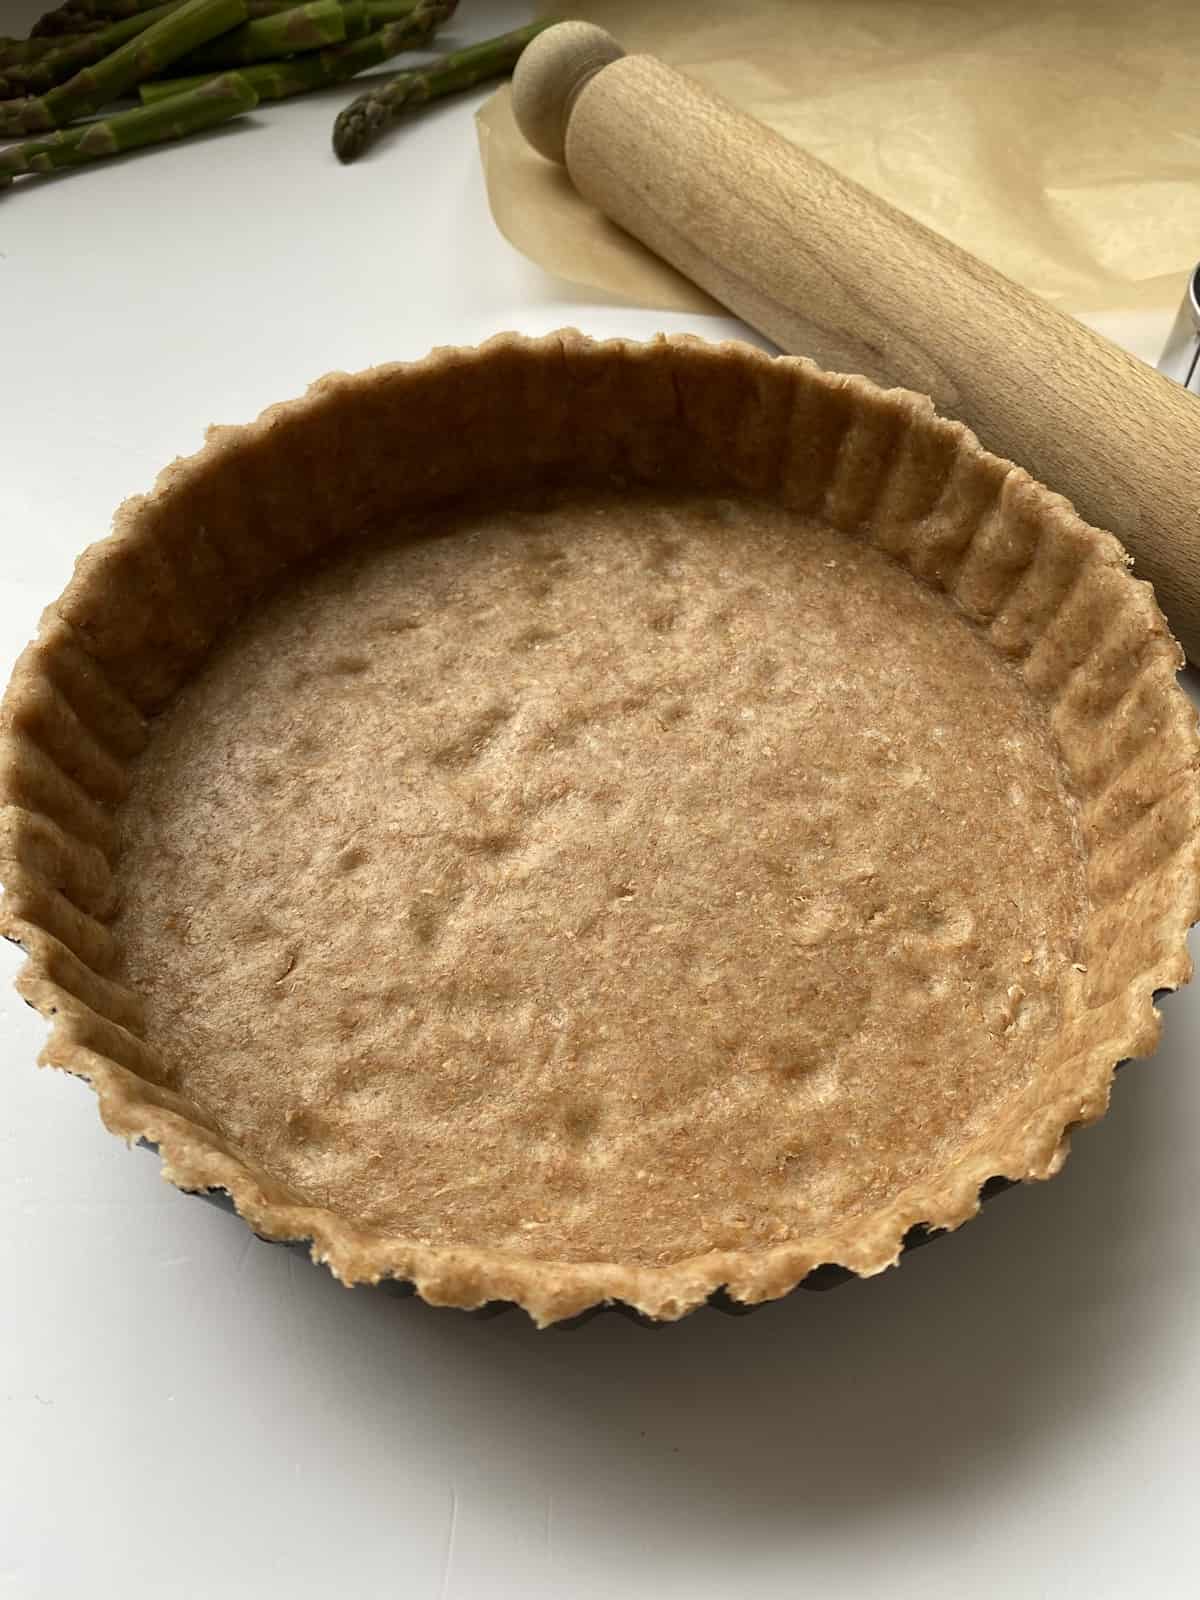
Learn how to line a tart tin with pastry with this simple step-by-step guide that provides essential tips to improve your pastry making skills, create a flawless crust and impressive tarts that everyone will enjoy. What Is The Best Tart Pan (Tart Tin) To Use For Pastry will help you choose the correct tart pan or container for your recipe.
Jump to:
Preparing the Tart Pan Before Lining It With Pastry.
Before you line your chosen pastry tins and containers with dough there are a few things you need to do.
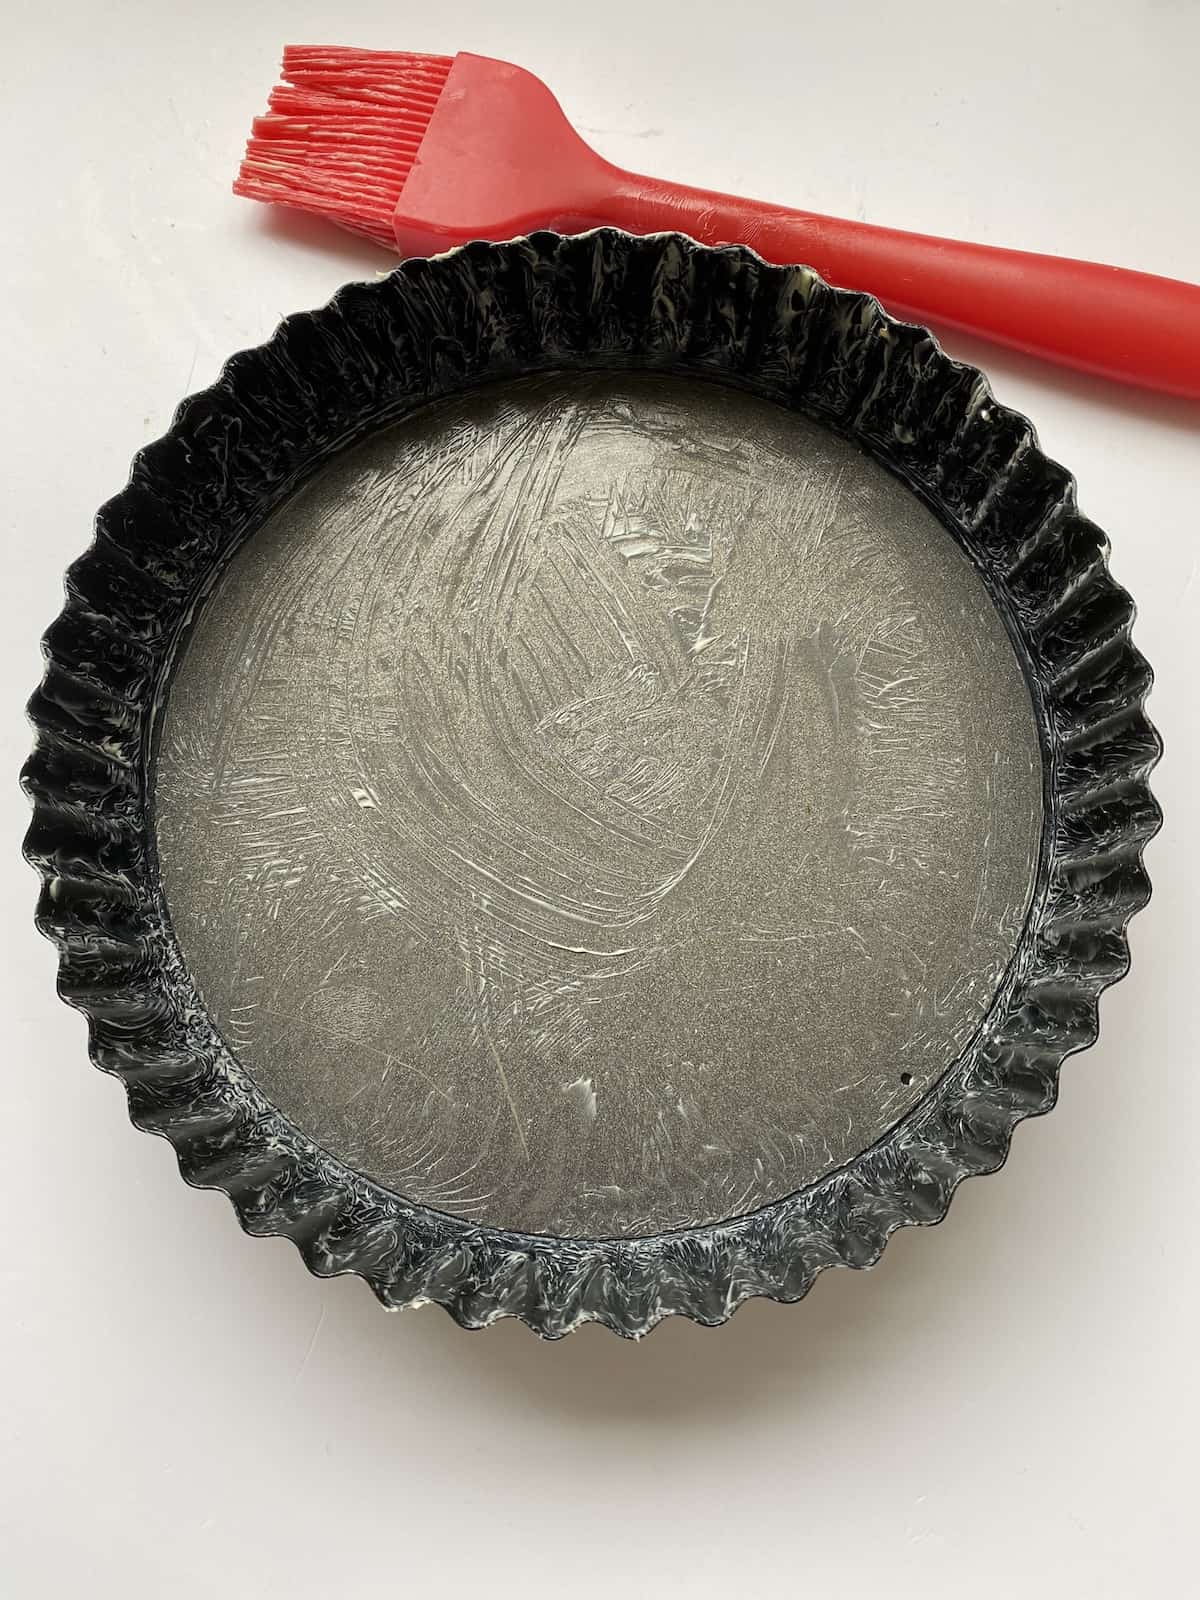
- Non Stick. Regardless of whether the tins are non stick or not, I still prefer to grease the sides and base with softened butter, using a pastry brush. Not too much, a thin coating is fine. In most cases, the pastry will come away from the sides of the tin, but too much butter could cause the pastry to burn.
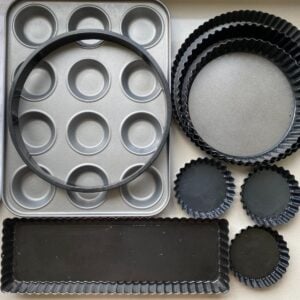
- Fluted Flan Tins, large and small. Including a fluted tart pan with removable bottom. Take care when coating these, there is a tendency for too much butter to collect in the fluted edges which could react with the pastry causing it to burn or become too soggy around the sides. A thin coating is fine.
- Flan Rings. These are metal rings that do not have any base to them but are placed on a baking tray and their sole purpose is to support the pastry during baking. The flan ring and baking tray will still need a coating of some kind.
- 12 hole shallow tart tins such as those used to make jam tarts and buns, simply lightly grease each hollow.
- 12 hole muffin tins tend to be deeper and sometimes greasing each one is not enough, which is why I cut small strips of baking parchment about 1 inch wide and long enough to allow you to lift any small pies out of the tins without them sticking to the bottom. See image below. This idea I picked up from an online course I took.
- Baking parchment - Sometimes, as a precaution, I will often line the base of some large tins with baking parchment. Baking parchment circles are ideal. Even a small disc will help prevent your dough from sticking to the bottom. Just remember to remove it when the time comes to serve.
Action Steps - Declutter Cutlery Drawers
Now is a good time to clear out your cutlery drawers, and utensil containers and take stock of pasty brushes, do they need renewing? Discard old brushes with moulting bristles, before they become part of the decoration. 🙂
Decide if you want to grease with butter or Margarine, either is fine and perhaps reserve a block just for this purpose. Or create your own jar of Nancy Birtwhistle’s cake tin lining paste as reviewed by Caro.
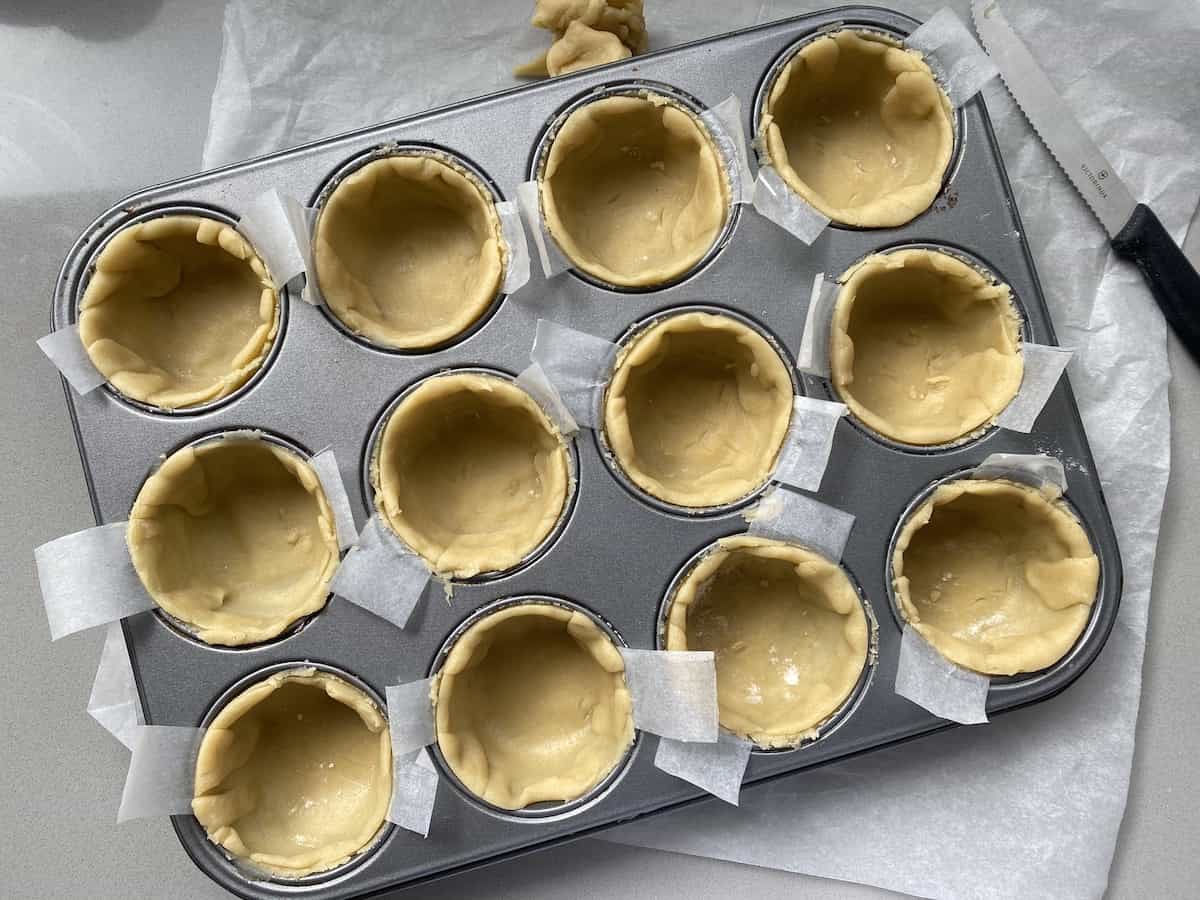
To save time when baking small fruit pies or custard tarts, pre cut a few strips of baking parchment as mentioned above along with a few circles of baking parchment similar to cake tin liners, and keep them in a plastic bag or container in your baking drawer/cupboard.
How To Roll Out Pastry Dough
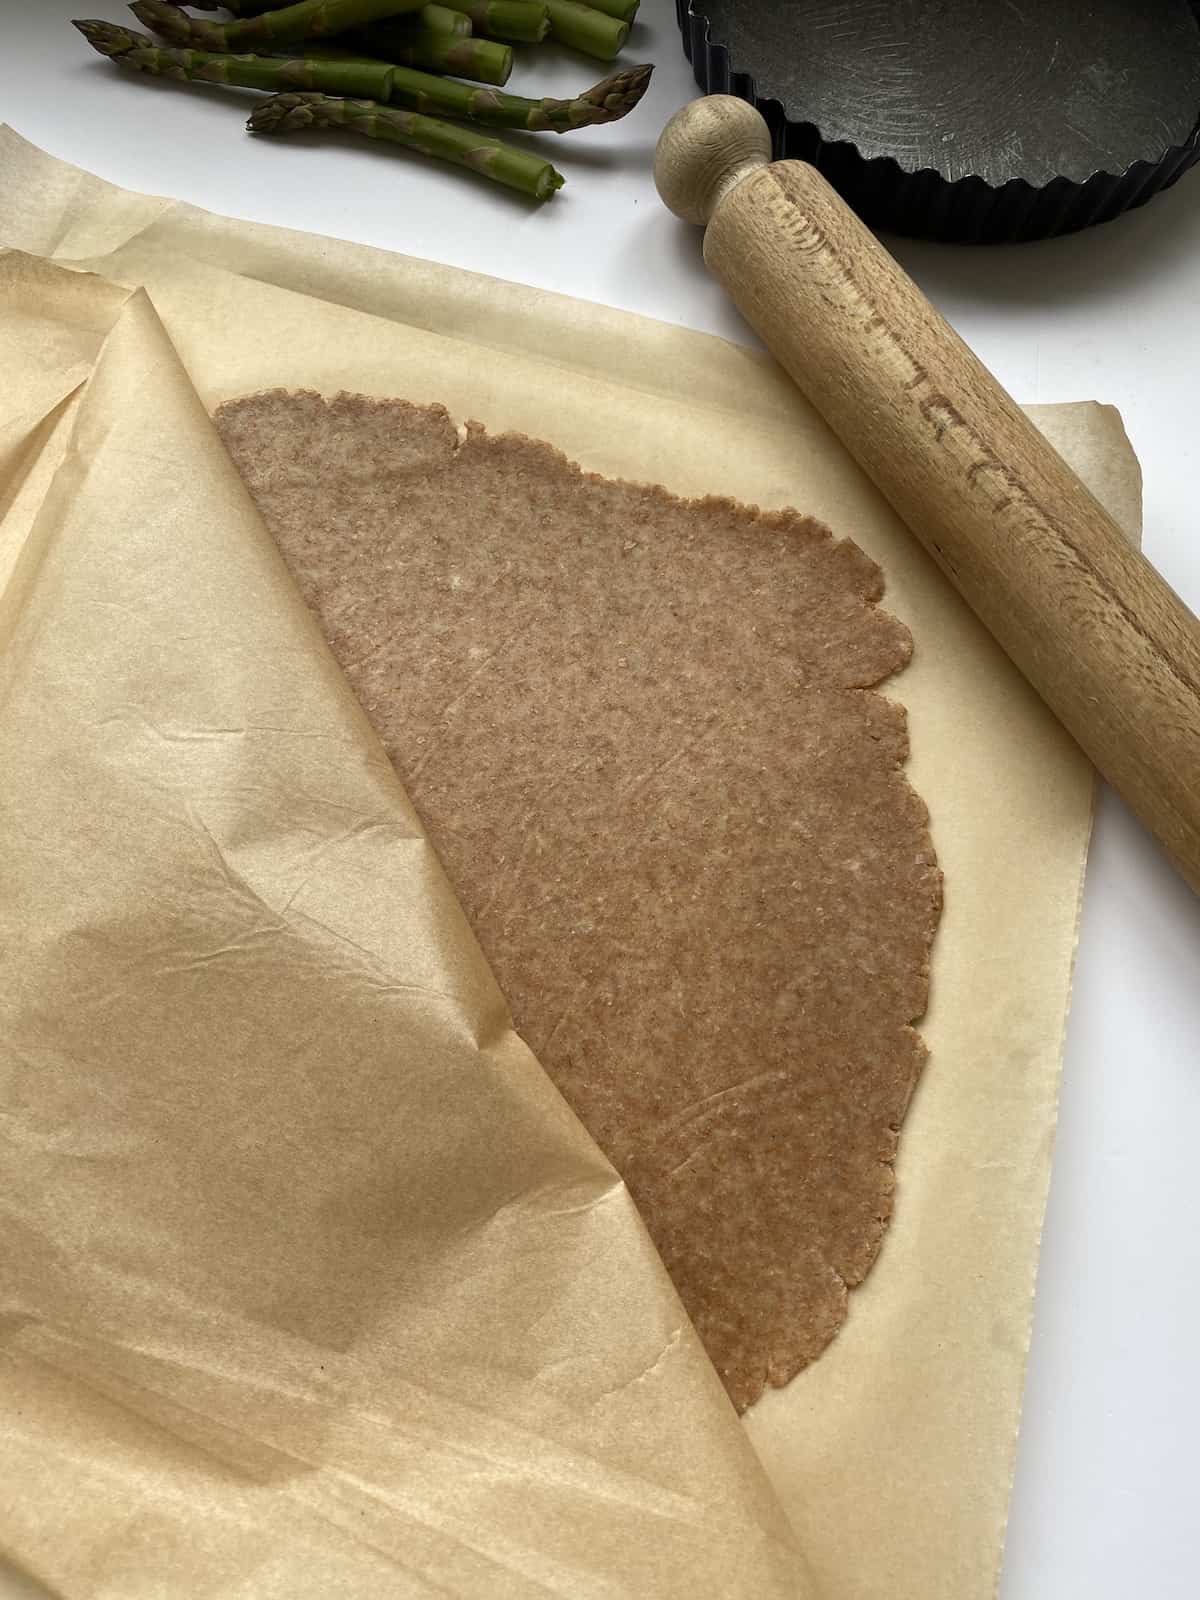
I find the best way of rolling out shortcrust dough is between two sheets of baking parchment. This avoids the use of extra flour being added to the pastry dough which can make it tough when baked.
Release the sheets of parchment at intervals until you have the dough rolled out to the correct thickness, usually no more than 3mm, and size you need. The parchment will not go to waste as you can use them to Blind Bake or wrap the dough before placing it in the fridge to rest and firm up or freeze to use later.
How To Transfer The Tart Dough Onto The Pan
Getting the pastry from the countertop and into the prepared tin can be a little tricky at first, but once you have practised a few methods, you will know what works best for you. Recipes are there to guide us and help us improve our skills, praticing these techniques help us achieve perfection and get a winning rosette in any baking competition.
After selecting the appropriate tin, grease and line it, if you feel it needs lining. Roll out the dough to the specified thickness according to your recipe, then proceed with any of the following steps.

Method 1: If your tart tin has a loose bottom, take the removable bottom from the tart pan and place it on top of the pastry in the centre. Place one hand under the dough and the disc and invert into the tart tin.
Method 2: If you have rolled your shortcrust between two sheets of baking parchment, remove the top sheet and place the disc on top of the dough. Place one hand underneath the bottom sheet and invert the disc, pastry and sheet of parchment into the tart tin. Carefully remove the second sheet of parchment that was originally on the bottom.
Method 3: If you are using a dish or tin without a loose bottom, after rolling out your pastry, dust the top with a little flour and fold the dough in half, then fold it into quarters. Place the pastry over your prepared dish and unfold it to fit.
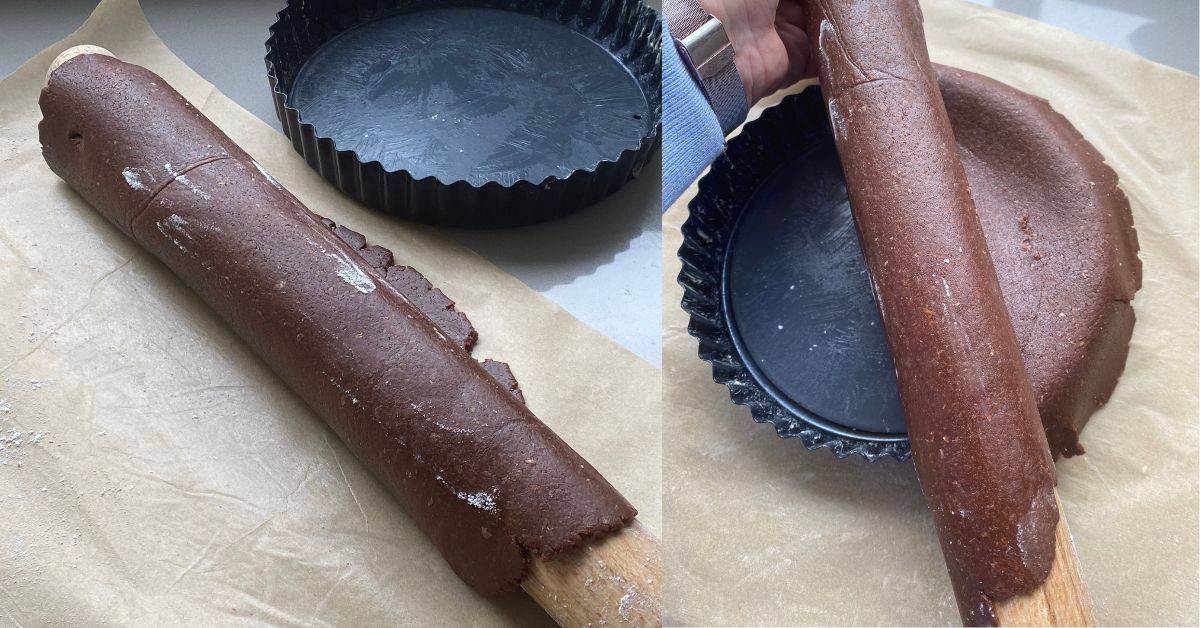
Method 4: Lightly dust your rolled out pastry and your rolling pin with flour, before placing it on the edge of your dough, then roll it up and around the rolling pin. Position the rolled up pastry on the edge of the tart tin and carefully unroll it covering the tin. Note: In all cases allow the pastry to drop over the sides.
How To Neaten the Corners and Cut Off Excess Pastry.
Neaten the Corners and Edges of the Tart Tin
Once you have your pastry in the tin, it is important to neaten the edges and square off the corners. If not done correctly, it could result in excess liquid pouring over the top of the baked case causing a mess not only in your oven but also when presenting the finished dish. To avoid this problem and make neat corners, do the following carefully.
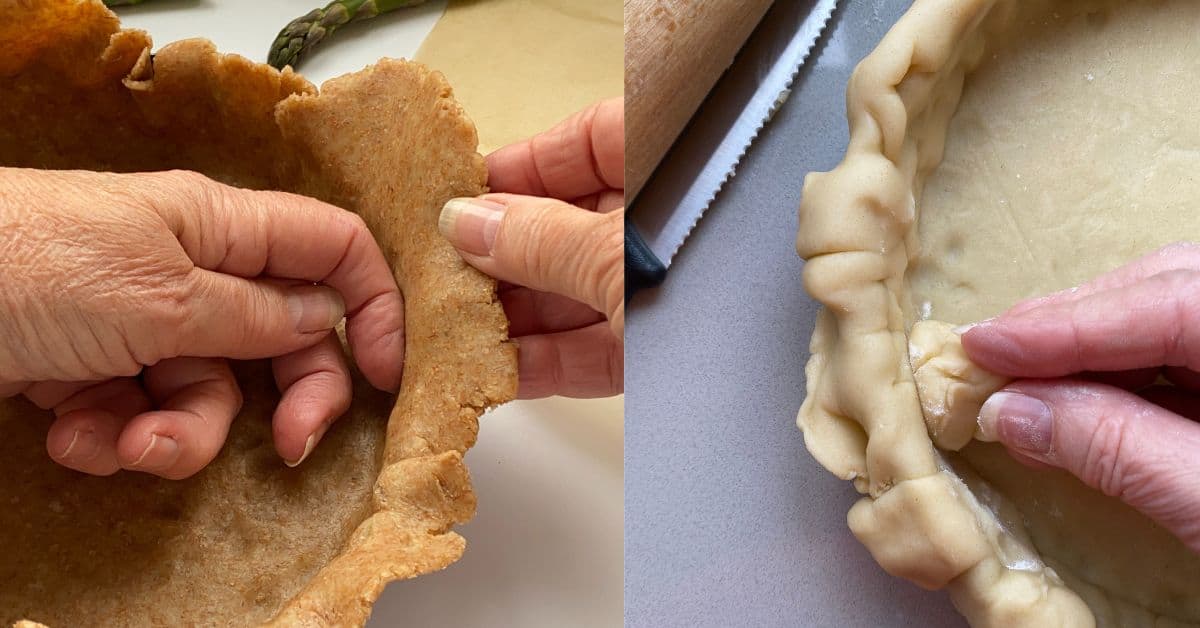
Lift the overlapping pastry with one hand and let it drop into the edges of the tart tin making sure you do not crease or stretch the dough. Using the back or side of your finger on the other hand, gently press the shortcrust dough into the corners and sides. Work all the way around the tin until you are satisfied that everything is neat and squared off.
You can also use a small ball of excess pastry dough which you can press into the corners for a smooth neat finish. Continue to allow the rest of the pastry to drape over the sides.
Note: If at this stage the dough is becoming too soft to handle, return it back into the fridge covered with cling film or baking parchment, to rest and firm up again.
Removing the Excess Pastry from the Tart Pan.
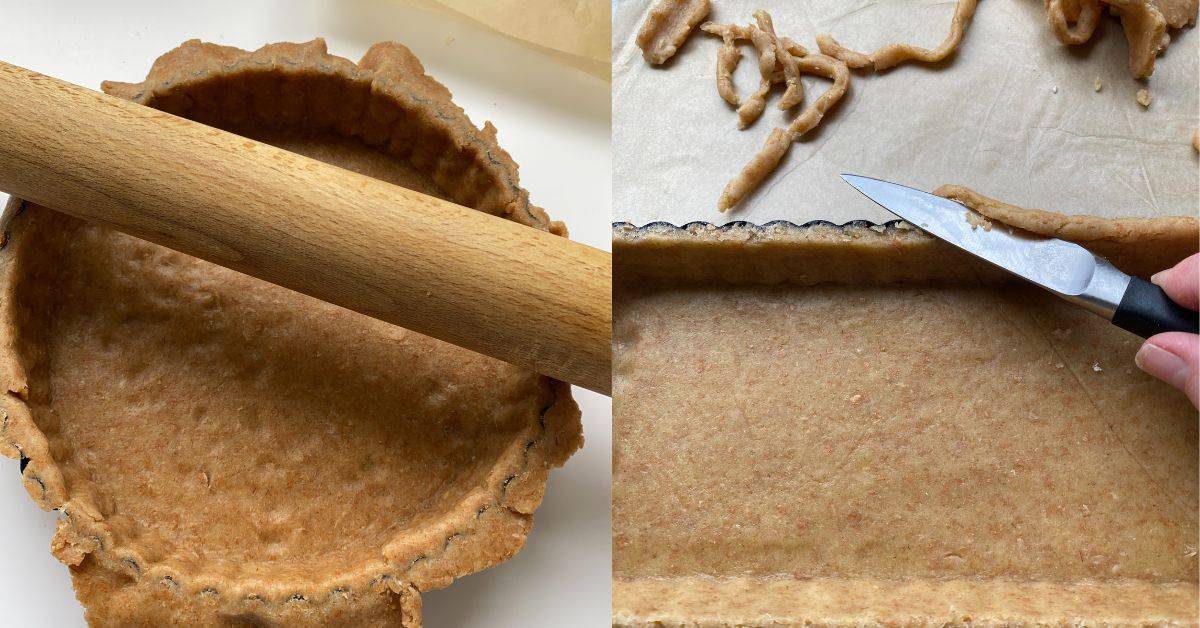
To remove the excess shortcrust pastry you can do one of the following:
- Run your rolling pin across the top of the tin allowing the edge of the tin to cut through the pastry.
- Hold the tin in one hand and with a sharp knife in your other hand, carefully cut along the top edge. Try to work from the inside outwards, this helps prevent the pastry from detaching itself from the sides of the tin.
- To straighten the sides even further, run your thumb and finger along the top edge of the pastry, lifting it slightly proud of the top edge. This will allow for the possibility of any shrinking during baking. Too much shrinkage will reduce the volume of filling needed.
Note: It is important to place the pastry back in the fridge to let it rest for a second time. The first time is when you initially make the pastry.
Wrap all those offcuts in cling film, and freeze them for later, perhaps to make a few jam tarts or pie toppings. You will need to bring it back to room temperature before you start to roll it out again. Don't forget to label the pastry with the date and whether it is sweet or savoury.
Advanced Technique to Remove Pastry
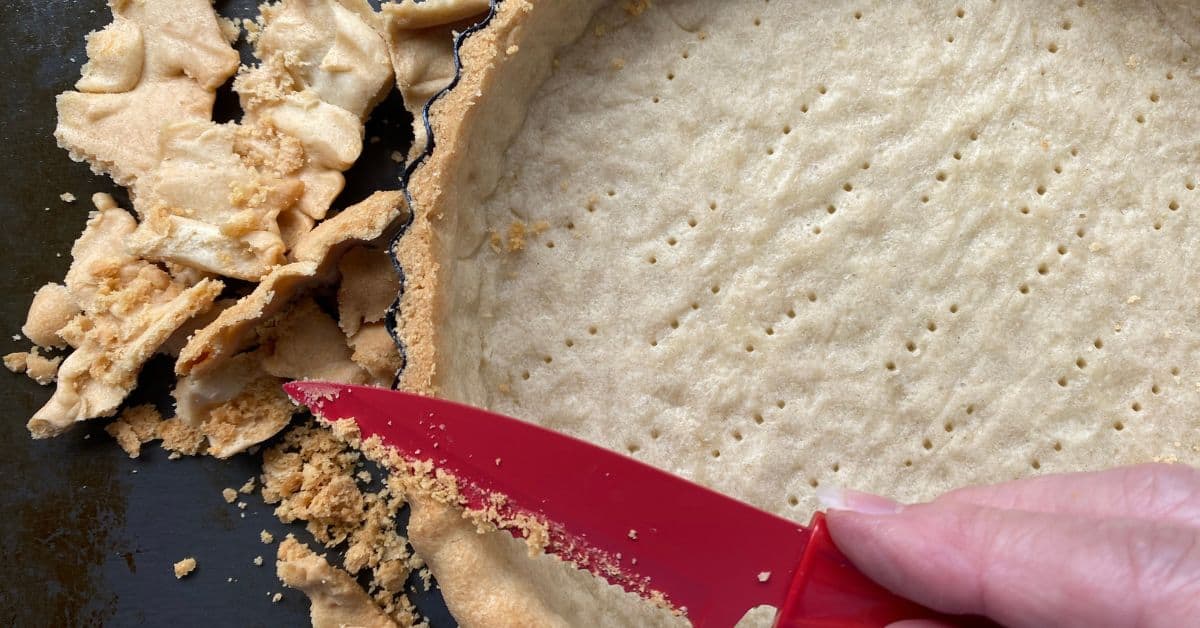
You could leave the pastry hanging over the sides and remove it after baking, but this takes a bit of skill and practice using a small serrated knife along the top edge, working from the inside outwards taking care not to break the fragile edges. This method results in a very neat and decorative edge, especially when using a fluted tin. But this takes a lot of practice so I suggest you only try this when you have made pastry a few times. If the edges break, you will need to bake a new case. Tip: Save the baked offcuts or any broken pieces for crumble toppings.
Tips
- Get into the habit of regularly placing your dough in the fridge to rest and firm up again, for at least 30 mins, longer if your kitchen is hot during the summer months, or your hands and fingers tend to be on the warm side. This relaxes the dough and helps prevent it from shrinking too much during baking.
- Cover the dough with cling film or baking parchment before placing it into the fridge to rest, this will help prevent it from drying out in the fridge.
- You can make the pastry dough ahead of time to bake later. Wrap it well and keep it in the fridge for up to 3 days.
- You can freeze the dough for up to a month. Wrap well in baking parchment and label with the type of pasty and date.
- Declutter your cupboards and see What Is The Best Tart Pan (Tart Tin) To Use For Pastry
Shortcrust Pastry Recipes
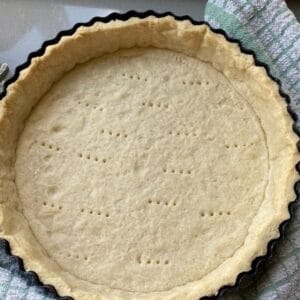
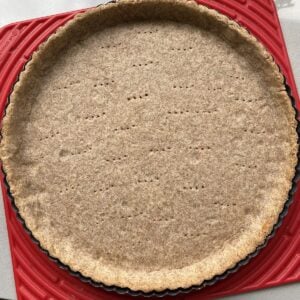
Now that you have leaned out to line you tart tin with, here are a few recipes for you to try. The Easy Apple Tart is ideal if you are new to making shortcrust pastry as there is no need for a tart tin and no blind baking is required before you add the apple filling.




Valerie Houlton
This is such a helpful page. Especially transferring pastry to the tin. I’ve always rolled it in the rolling pin . I never thought to just put the loose bottom on top of the pastry and turn it over! Every day is a school day!
Lynn
I am so glad you found this page helpful.